Creating a Vivado project
In this note we’ll create a Vivado project and make an LED flash.
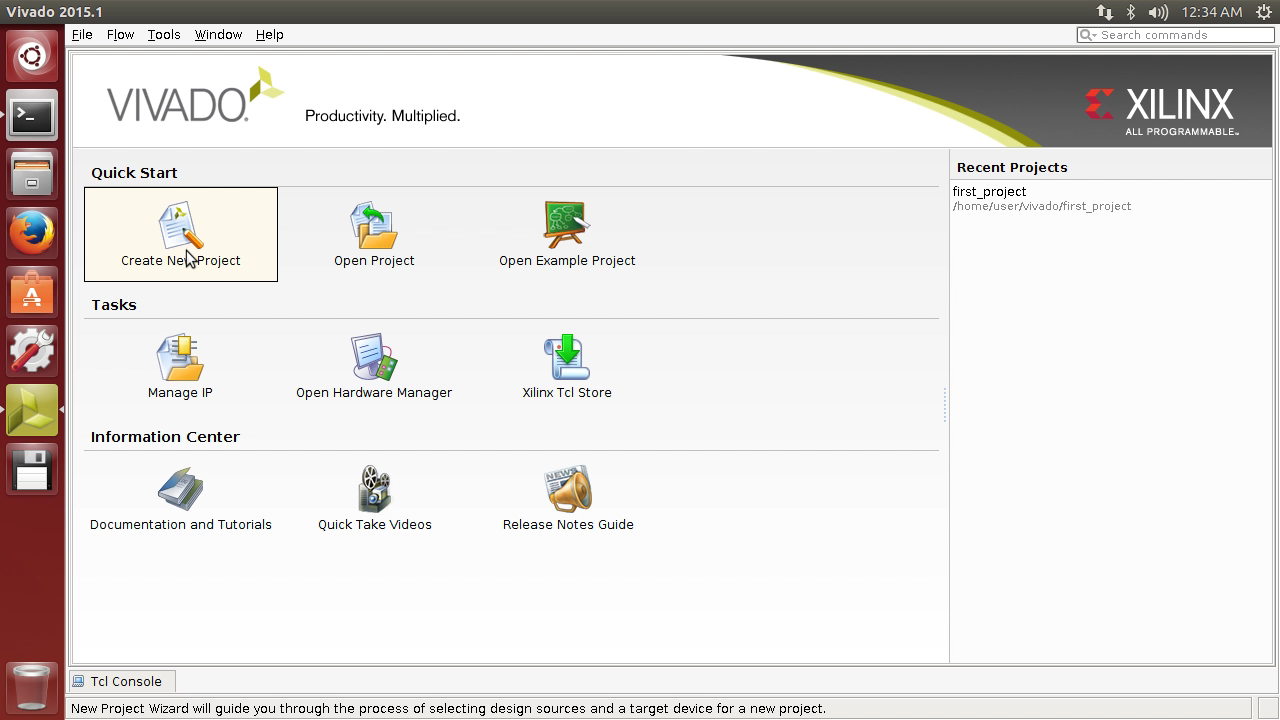
Open Vivado and select Create New Project.
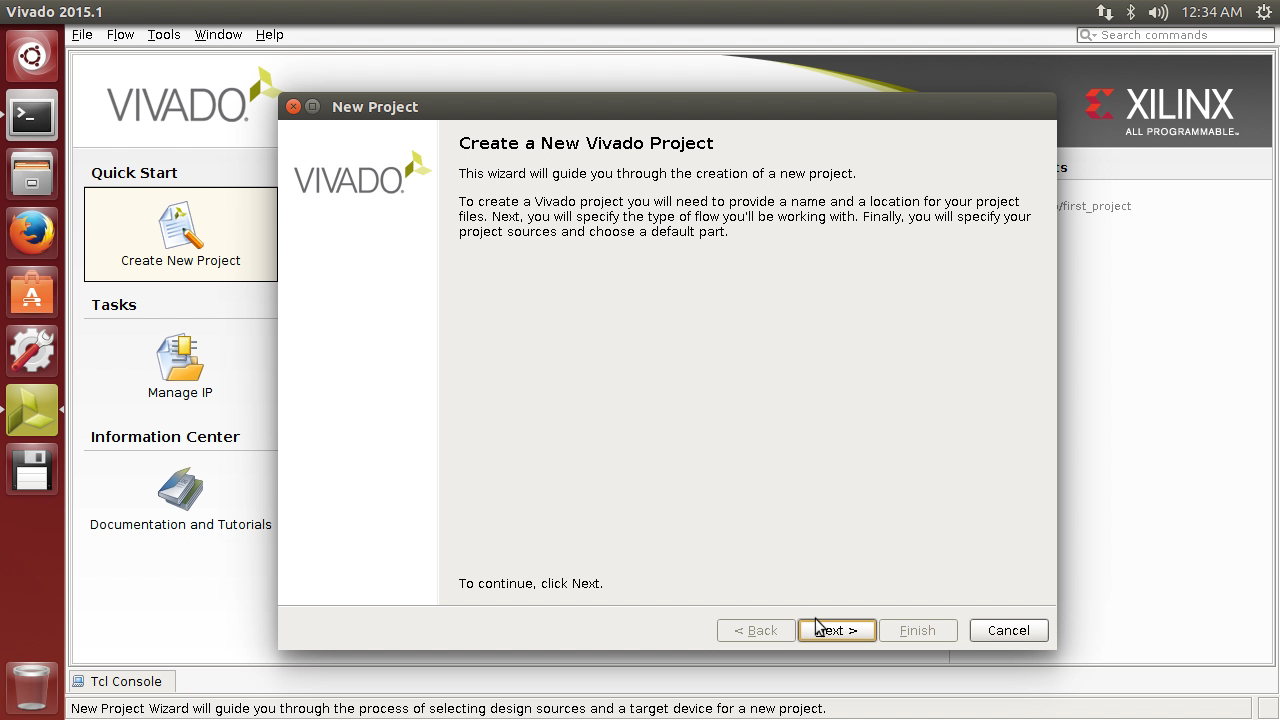
Click Next.
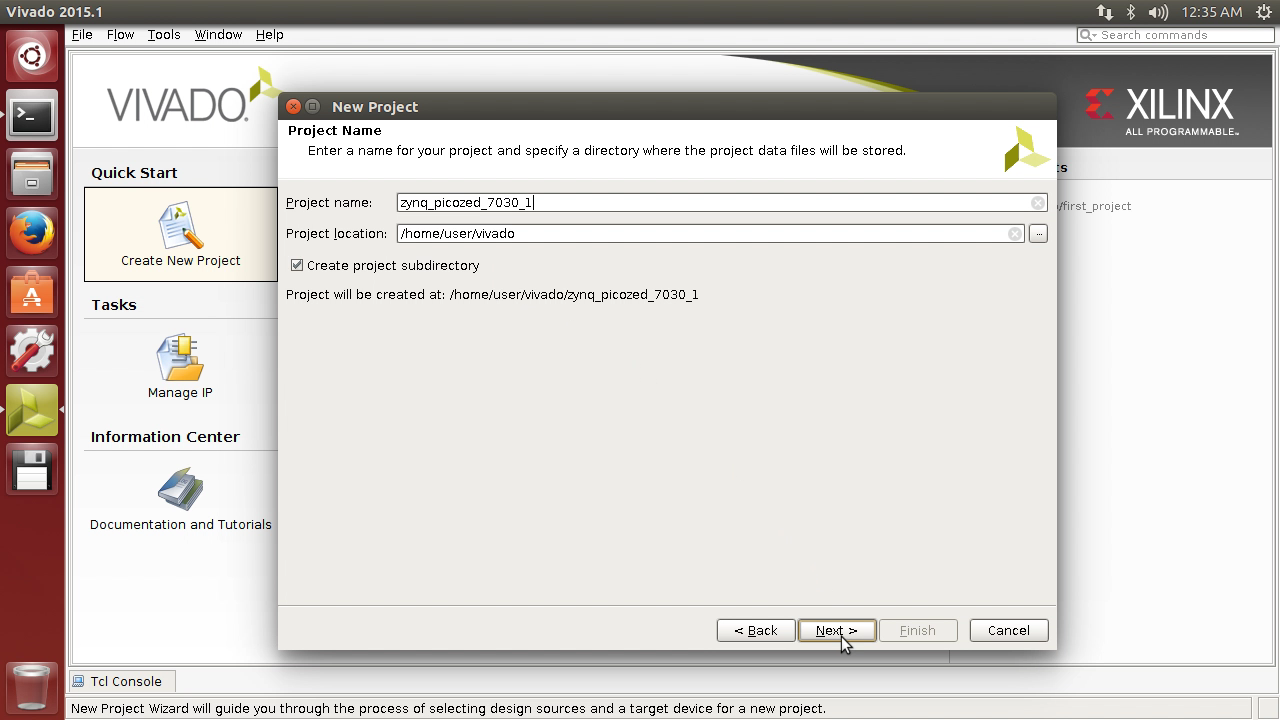
Enter a project name, then click Next.
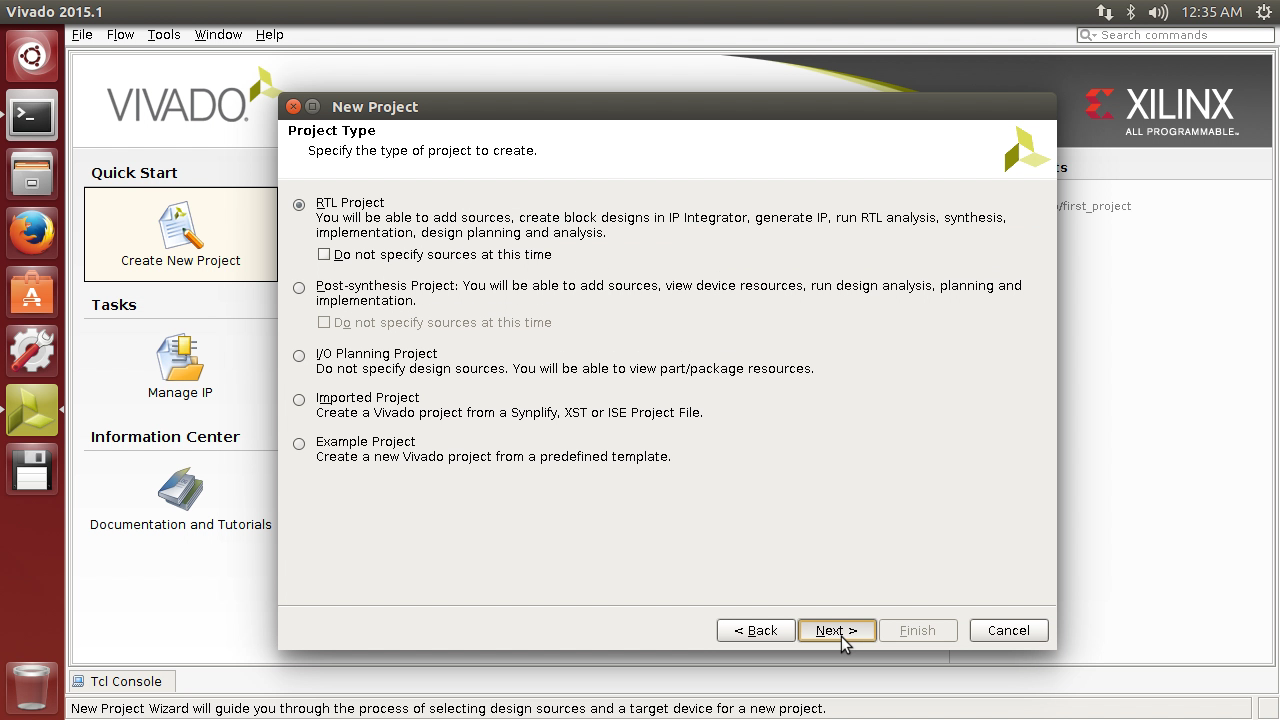
Choose RTL project, then click Next.
Click Next, we’ll add sources later.
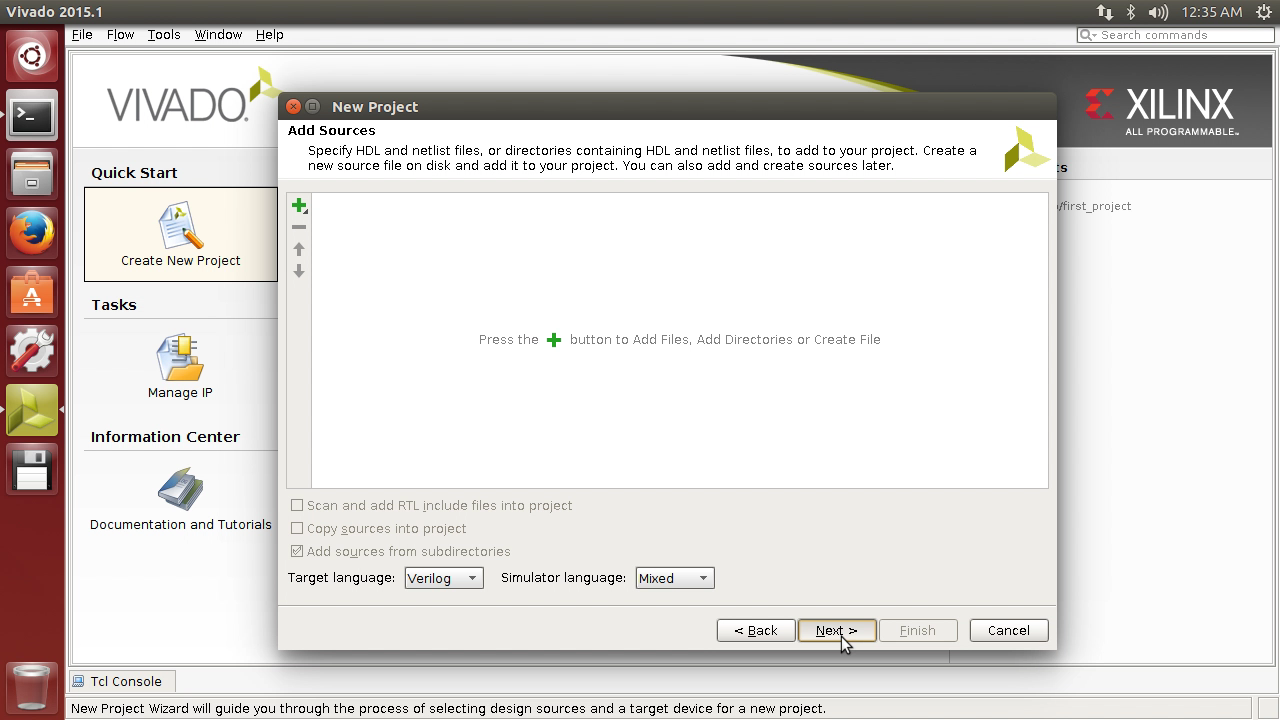
Click Next, we don’t need to add any IP.
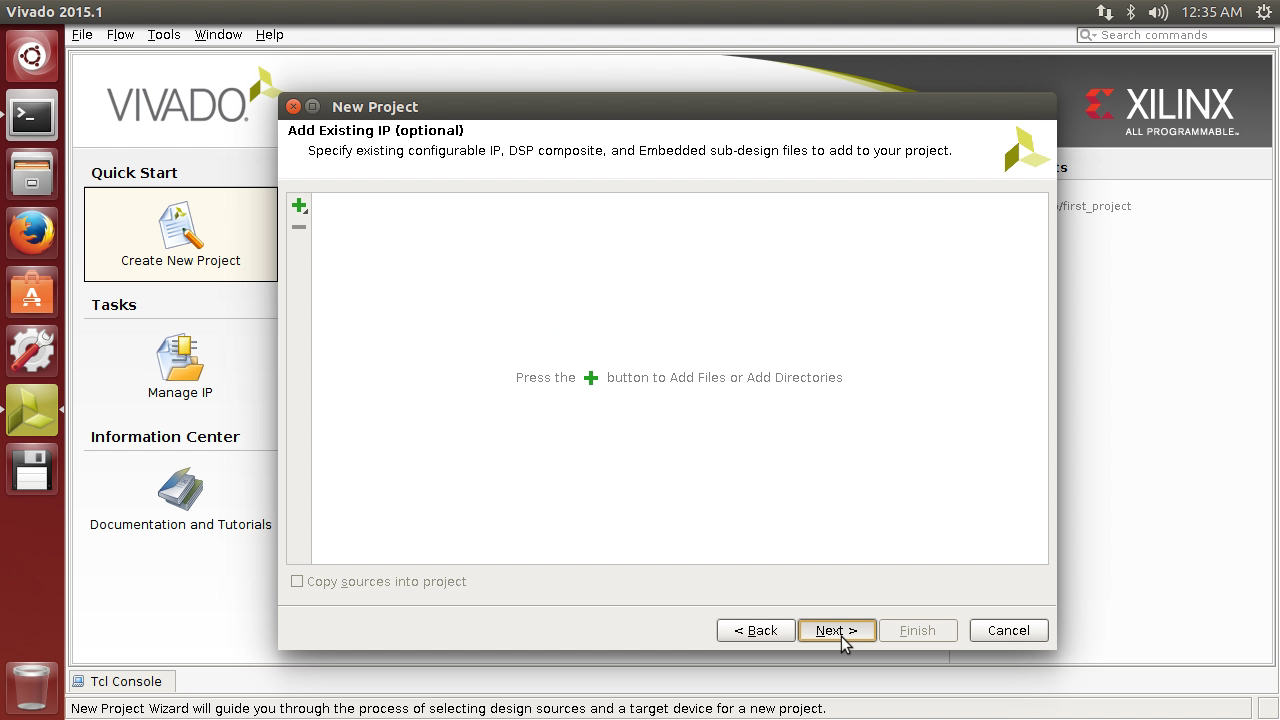
Click Next, no constraints needed yet.
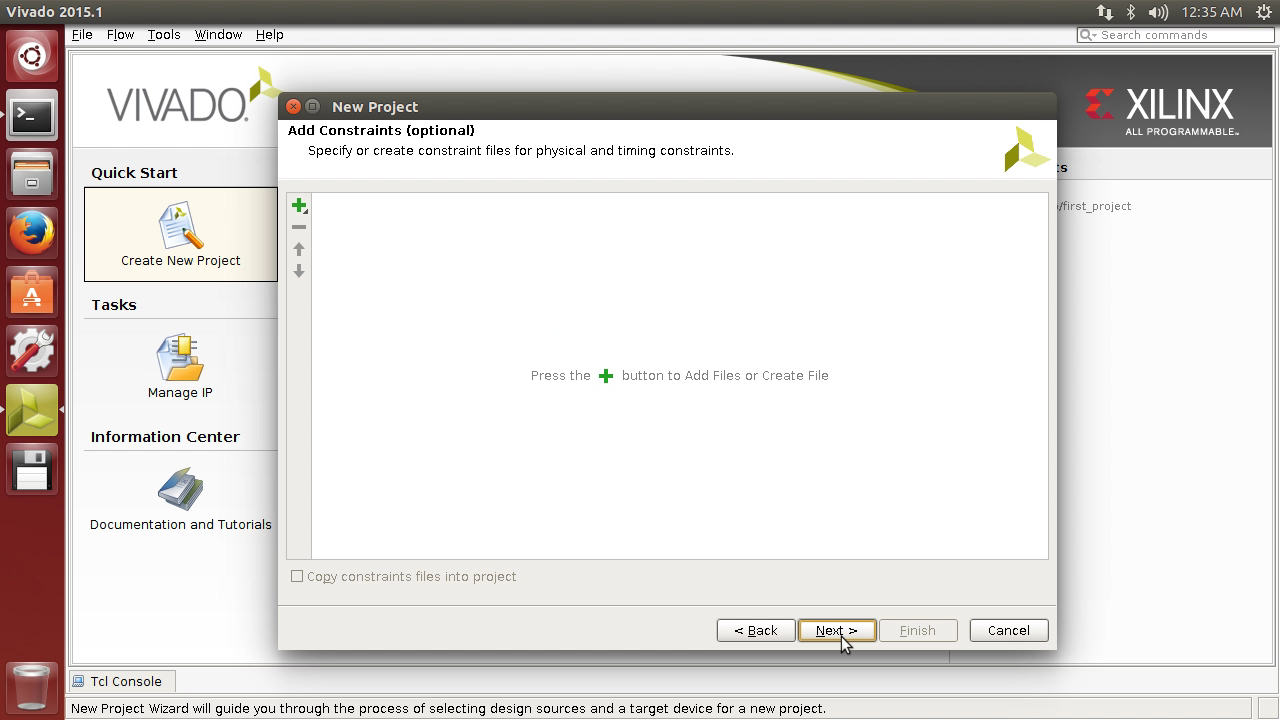
Click Boards and choose PicoZed 7030 SOM + Carrier, this is one of the boards we added in the previous note.
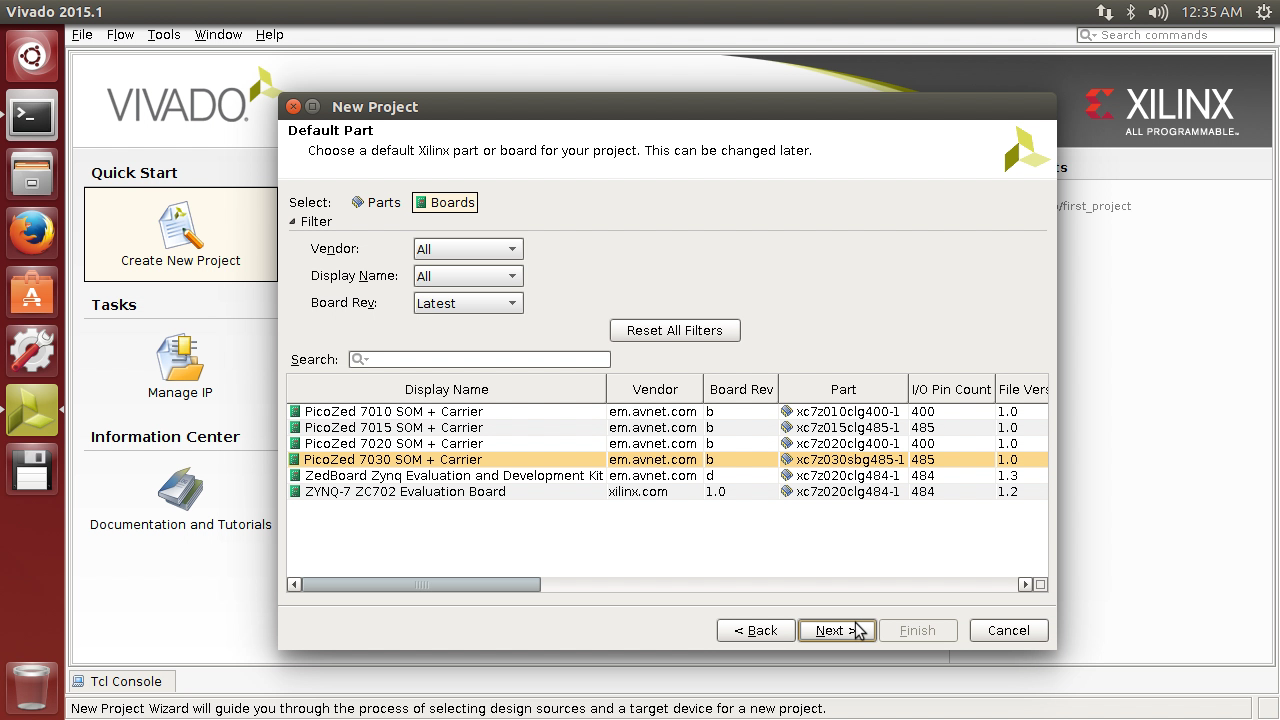
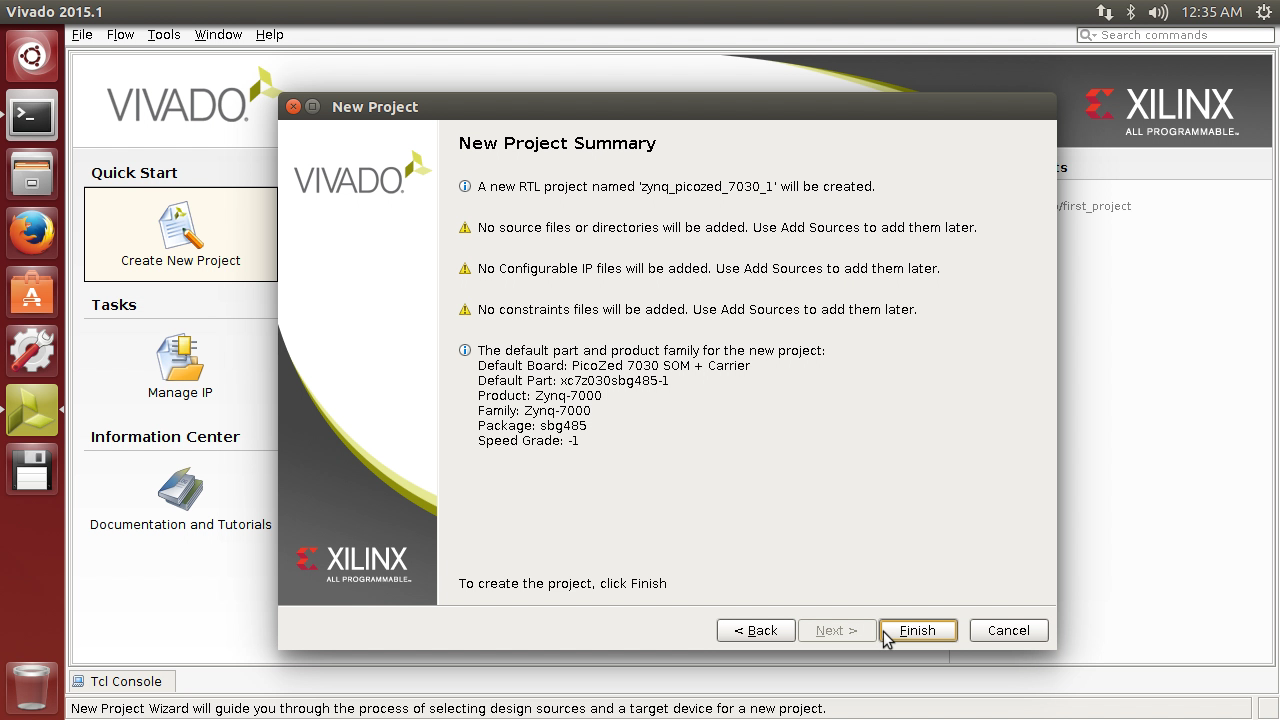
Finally, check everything is OK and click Finish.
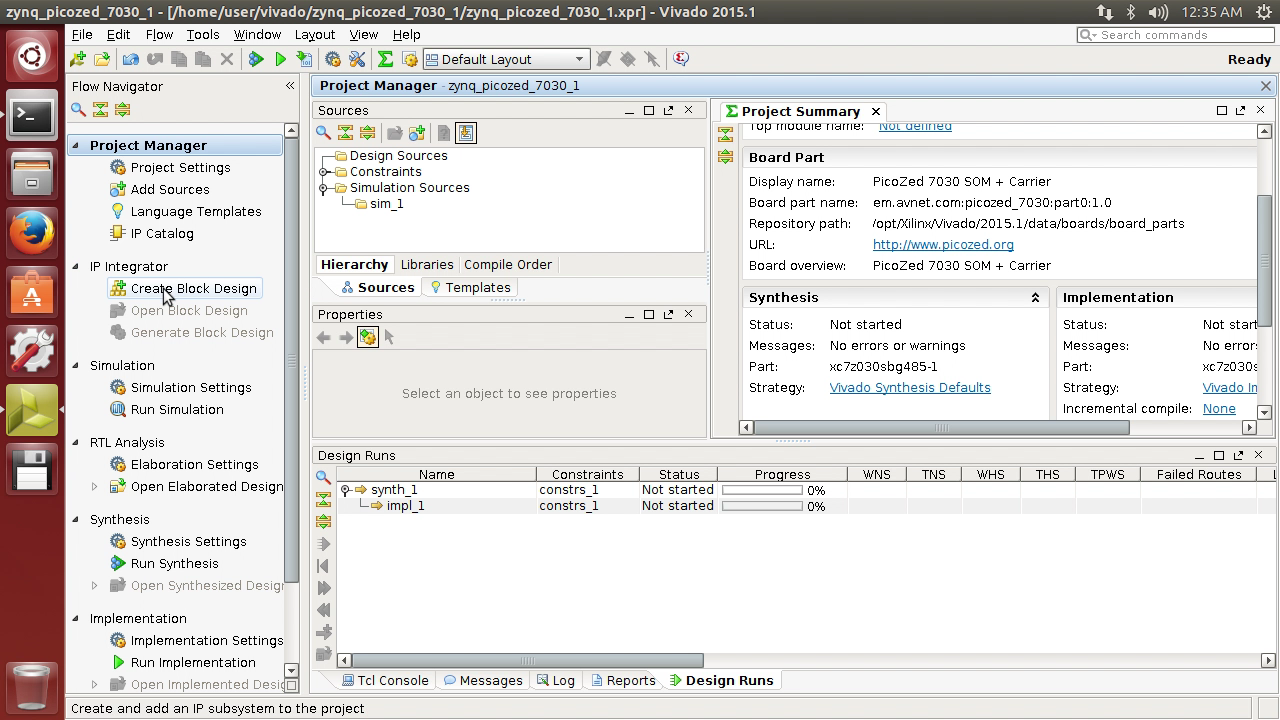
We’re now presented with the workspace. Click create block design in the left hand navigator to add a new block to the project.
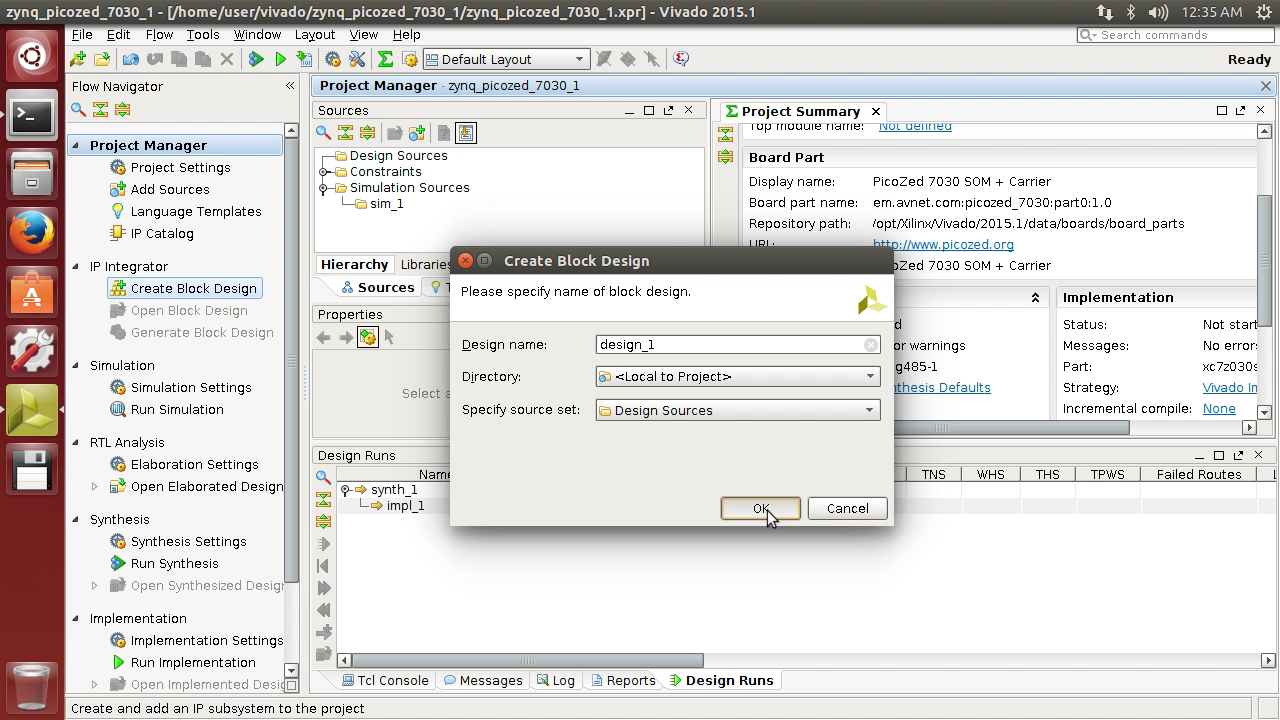
A dialog will pop-up, choose a block design name and click OK.
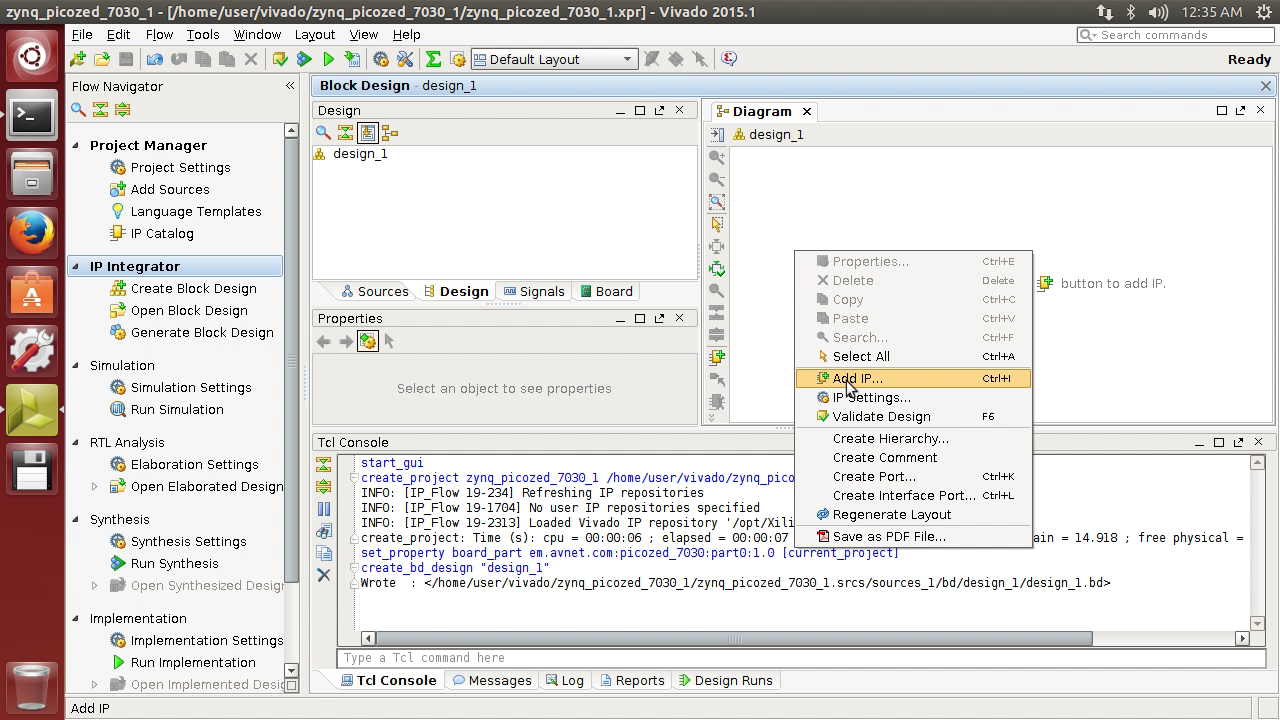
In the top right of the application, a black block design will open. Right click on this and click Add IP.
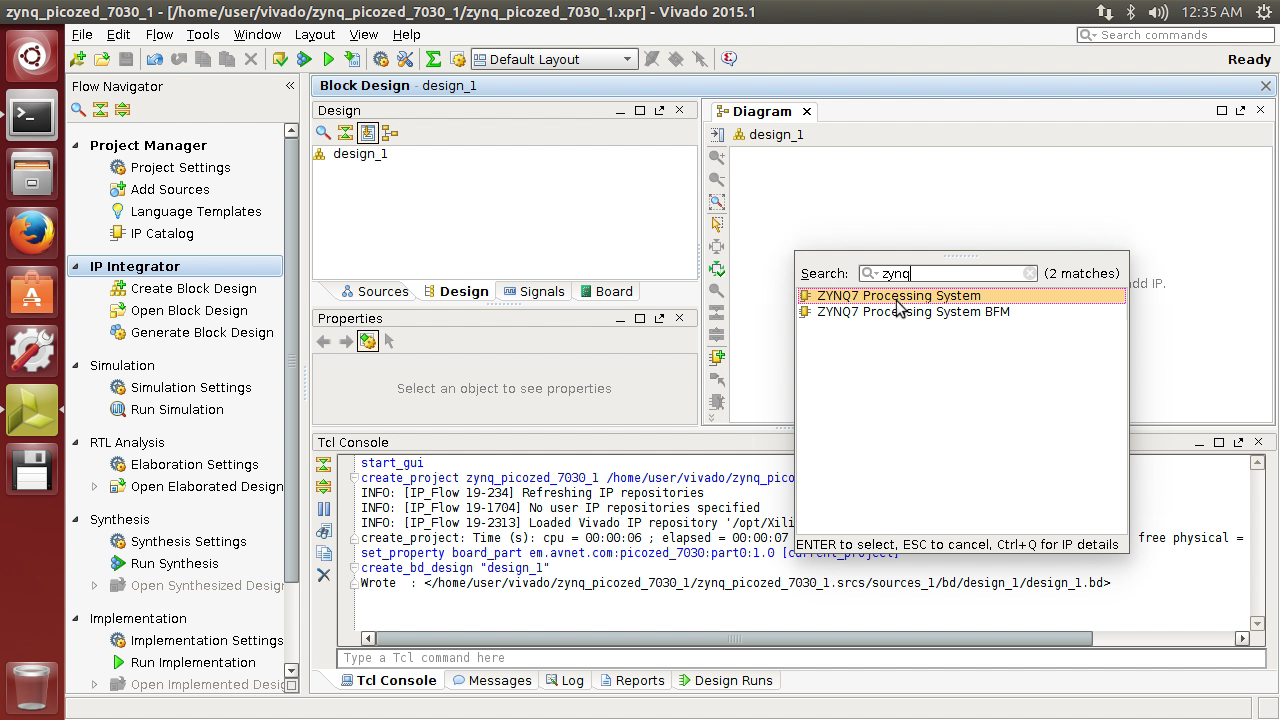
Type zynq and when ZYNQ7 Processing System is highlighted hit Enter. This will place the Zynq hardware macro into the design.
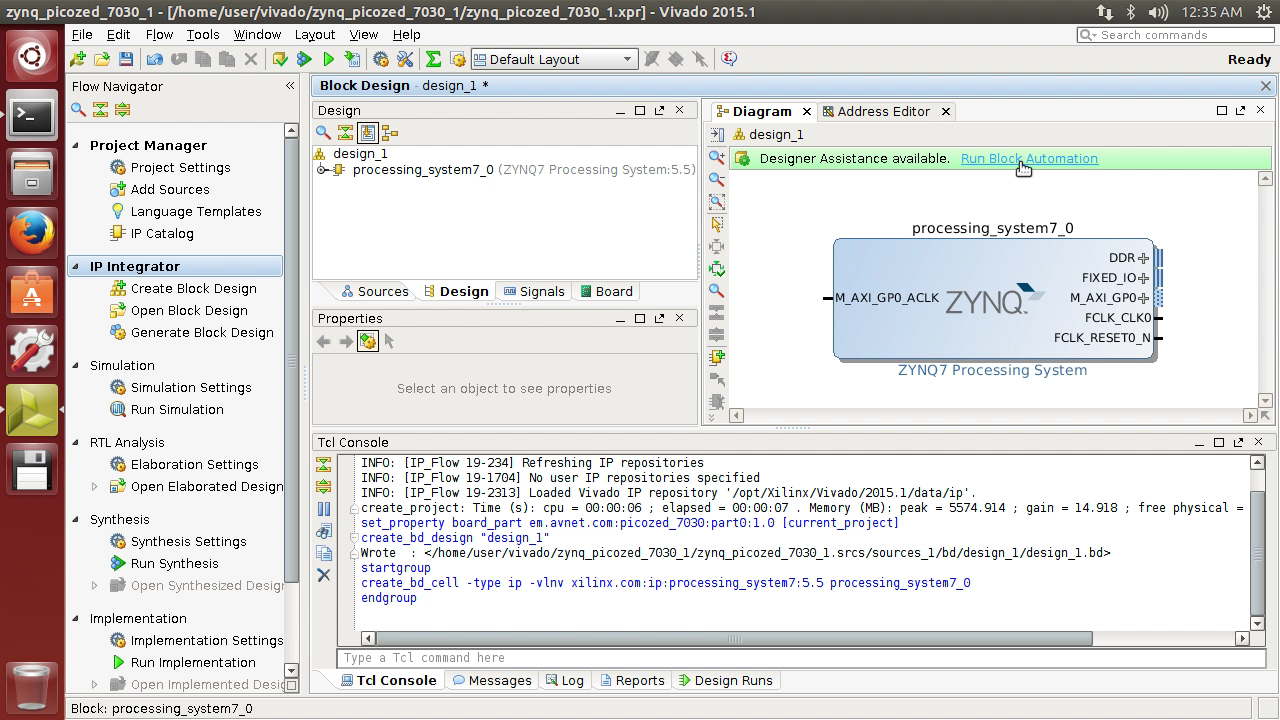
Click Run Block Automation link in the banner at the top of the design canvas. UG994 describes block automation in more detail:
IP integrator offers a feature called Designer Assistance, which includes Block Automation
and Connection Automation, to assist you in putting together a basic microprocessor
system by making internal connections between different blocks and making connections
to external interfaces. The Block Automation Feature is provided when an embedded
processor such as the Zynq® Processing System 7 or MicroBlaze™ processor, or some other
hierarchical IP such as an Ethernet is instantiated in the IP integrator block design.
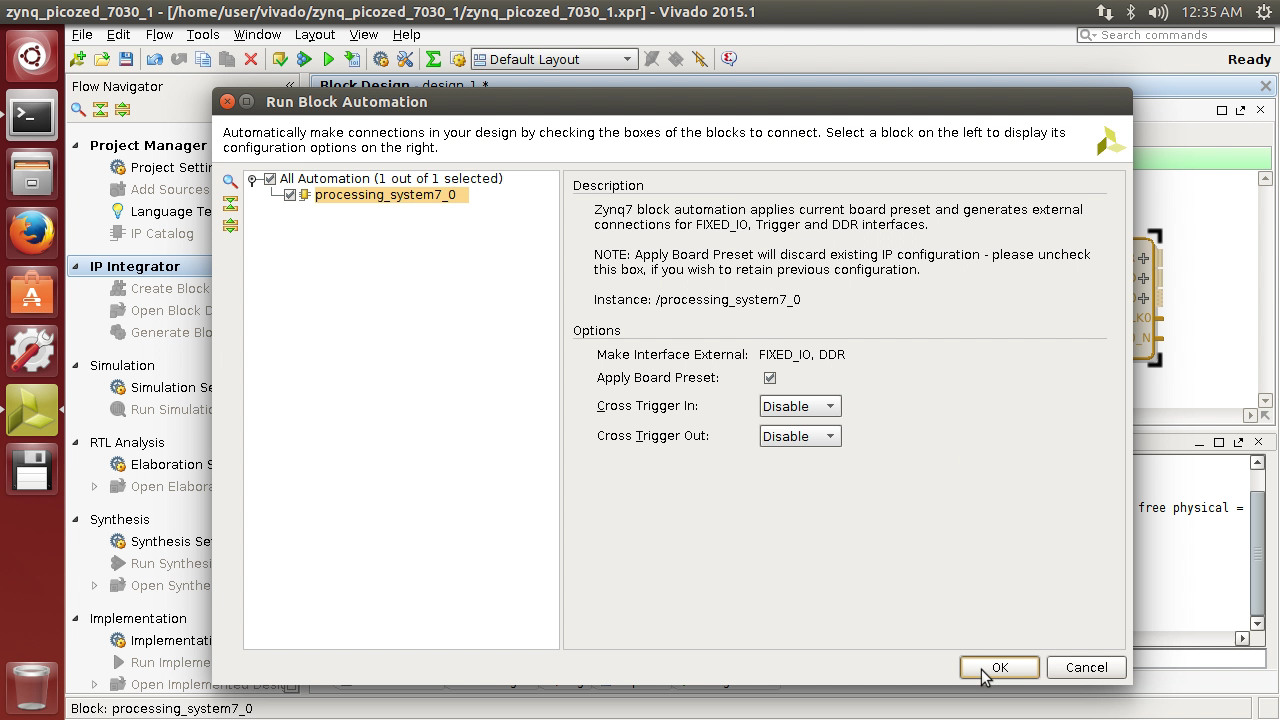
The Run Block Automation dialog opens, no need to change anything, click OK.
Previous Note - Coming Soon